Showing posts with label Bioshock. Show all posts

Friday, September 14, 2012

Dragon*Con 2012 Report–Director’s Cut Redux


Alright, let me start off by saying that this is going to be a rather personal blog entry.  So, if you don’t want to read that bit just scroll down to the really cool part.  You’ll know it when you see it.

In my original report on Dragon*Con, I had a lot of positive and negative experiences.  I thought I had gotten a handle on everything before I wrote that entry, but apparently I had not.  Thanks to a lot of help from my wife and my best friend Maria, I’ve gotten a much clearer picture on why Dragon*Con felt so rough for me this year.

I put way too much pressure on myself.  Plain and simple.

2012 was the first Dragon*Con for my friends, and I wanted to make sure it was the most awesome experience they’ve ever had.  I was also bringing Subject Delta back for the girls, and I wanted to make sure it was just as awesome as it could be.  How anyone could go to Dragon*Con for the first time, and not have a blast, had not entered my head.  How someone could bring any kind of a Subject Delta costume and not have fun, had not entered my mind.  I simply put the weight of 8 or so Dragon*Con experiences on my shoulders, and quite frankly, I cracked. 

My friends all had so much fun taking my advice of “Now, don’t feel like you have to stick with me the whole time.  If there is something you want to do, go do it.”  The problem with that advice, they took it, and I didn’t see them as much.  Without seeing their faces, expressions, and being able to watch them watch Dragon*Con, I had no idea if they were enjoying it or not.  Sure they told me they were, but they’re my friends.  I don’t think any of them would say, “Dude, this sucks.” to my face.

Now, add to that pressure worry about my paying job (I tried to fight it), costumes breaking and technology that just wouldn’t work, and you have a very frustrated geek.  That allowed for my depression to kick in and nearly ruin Dragon*Con.  I do not take any prescription meds for my depression.  The side effects frighten me, and honestly, it doesn’t get that bad, in my opinion.  It has never crippled me.  It ruins my mood, and often the moods of those around me, but my close family and friends know this and do what they can to lift me up.  Thanks everyone.

After talking to Melinda and Maria, and letting the fog clear, I have come to realize that 2012 was probably the best Dragon*Con yet.  I met some amazing people that I am now calling friends.  I never knew there were other cosplayers here in Tennessee, and now I’ve found a whole group of them and we’re already making plans for next year.  I met an amazing photographer and I really hope to see next year and hopefully work with him too.  My friends had an amazing time and are already planning to go next year (memberships have been purchased).  They’ve even convinced me that I had enough fun to go back again next year.  Yes, I know I said I wasn’t going to go back, but I also said that could change, and it did.  Rather quickly too.

THE REALLY COOL PART

Told you you’d know it when you saw it.

If you read all the above, thanks.  I think what is coming up will be worth it.

If you didn’t read the above and just scrolled to here, it’s still cool.  Thanks for just reading.

Costume Plans for 2013

IDW Comic’s Cobra Commander
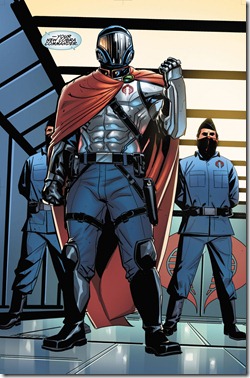
GIJOE08_20

Yup.  I think it is about time for this.  I made the Destro costume for my first Dragon*Con and my first attempt at real costume making, so I think I need to do a Cobra Commander costume now.

This will involve making another helmet.  I’ve made a few now, and I know I could make this using similar methods to the Night Guard and Delta helmets, but I’m going to try the Volpin Props method of casting the whole thing.  I’ve been studying the video below, and I think I’m going to be able to do it.

Volpin Props Skyrim Helm of Yngol

This will also involve more body armor work.  My last attempt at armor for the Night Guard didn’t turn out too well, but I learned a lot from it and I’ve learned a few new tricks since then too.  I’m excited to try and see what happens.

Beyond that, I think this will make a really cool costume and also be something easy to wear.  I just have to remember the diver’s mask defogging solution this year.  I would really like to be able to see out of the helmet for once.


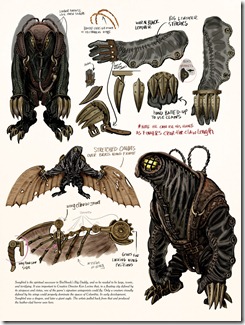
Bioshock Infinite’s Songbird

Yup, you read that right.  The group of us that did the Bioshock cosplays at the aquarium have been talking and it’s time to do an Infinite cosplay.

tumblr_ma7ex6bNm41re3kino1_1280

The very first time I saw Songbird in the trailer, I knew I had to make this costume.  After Delta, I swore off big heavy bulky costumes, and I think I can keep that promise and do Songbird at the same time.  It is bulky, but it can’t be heavy.  He flies for crying out loud.  If I can get the wing mechanics right, I think this is something I can actually do.  I’m just going to be taking it in small steps at a time.

I’ll also be helping out some of the other cosplayers with Handyman, Mechanized Patriots, and hopefully Boys of Silence builds too, but Songbird is for me.


There will of course be changes to all this.  New costumes will be added.  Some might go away.  Prop and commissioned prop builds will hopefully be coming.  Upgrades to existing costumes will happen.  We will be going to other local cons.  Like all things associated with Dragon*Con, it is very fluid.

Thursday, August 16, 2012

Time To Suit Up – Part 2 – Subject Delta


Subject Delta builds always have a lot of pieces and parts.  Typically just when I think I’m done, I look and see that I have more to do.

Helmet – Check
Drill – Check
Backpack with tanks – No-Check
Suit Patched and Weathered – No-Check
Weight Belt – Are you kidding me!  I completely forgot!  ARGH!

After I got over my fear from the failed Night Guard build, I tackled the backpack and tanks.

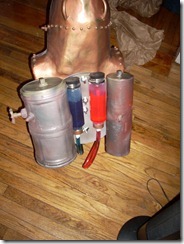
The 2011 model had the tanks and pack were bolted directly to the frame inside the helmet.  This added bulk and weight and made traveling with it a pain.  Since the new goals were easier and lighter, I decided to make a real pack that could be bolted directly to the helmet and removed for transport.  Given the helmet is fiberglass and Bondo, it should take the weight, as long as I keep it as low as possible.

Let’s begin with the backpack base.
IMAG0837

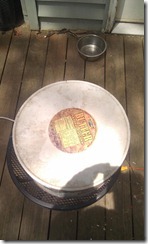
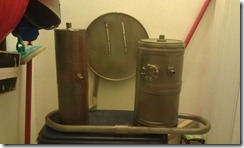
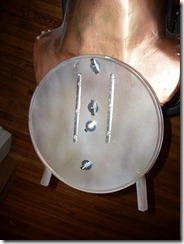
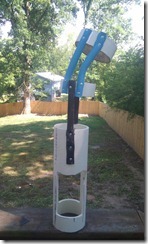
Yup.  That’s a popcorn bucket lid.  It’s tin.  It’s light.  It’s just about the right size.  All I had to do was add the PVC frame and some lights.
IMAG0838

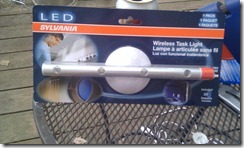
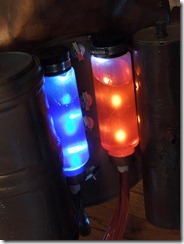
Two of these battery powered LED strips I got on sale at Home Depot will be mounted behind the lid and provide backlighting for the Eve and health tanks.

The other tanks simply needed to be tubes.  If I could store things in them, like water bottles or spare batteries, that would be a plus.  I tried a couple of different methods before settling on:

IMAG0829                                      IMAG0830

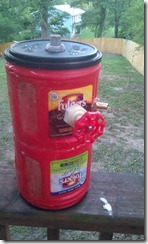
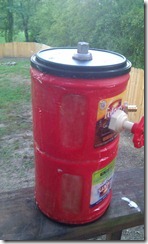
Two Folger’s coffee cans glued together.  Light and provide storage.  I used a little fiberglass and Bondo to smooth out some seams and details, but mostly it was glue and paint.

The smaller tank is just a piece of poster board that I soaked in resin and then added a band of fiberglass to reinforce the area where the nozzle would be.

These tanks are on my back.  Very few will actually even see this.  I’m not going to waste a lot of time on these kind of details, unless I was doing this for a contest.  This is for fun.  I’m going to keep it fun.

IMAG0839

Results after painting.  I used my same technique from last year in painting these.  Age and rust effects are fun.

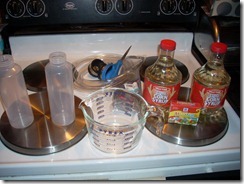
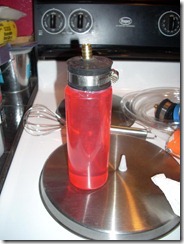
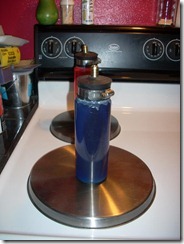
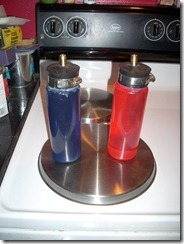
Now for the Even and health.  Again, I went through a couple of tests before getting to the final version.  Mainly leak tests.

DSCN0820 (2)

Most people use hair gel for the fluid.  I’ve talked to one person that used Gator-Aid in his build (brilliant!), but I’m kind of hung up on corn syrup and food dye.
DSCN0821                          DSCN0822DSCN0823

Now time to mount the backpack.  This I couldn’t get wrong.  I had to plan it out carefully and execute it once.  There's not a lot of weight, but enough to make me a little nervous.  I epoxied a piece of 3/4” MDF to the helmet to make up the hollow in the lid and provide a little more support.  The method I chose for the actual attaching was spring hollow wall anchors and washers.  Works great.
DSCN0830

Oh, and I did have to cut the bottom off of the PVC frame so it would all fit in the trunk. I added two PVC couplings so I can attach it and remove it as needed.
I used much hot glue in attaching these things, and they’re holding well.
DSCN0831

Backlighting looks too cool.

DSCN0041


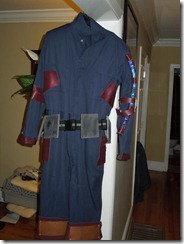
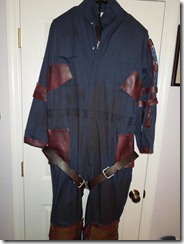
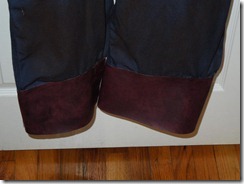
Now for the suit and weight belt.  The 2011 suit was a bit small.  I ordered a Tall, but got a regular.  The 2012 is a Tall, thank heavens.  Still, I was able to recycle a lot of the bits and details for the 2011 suit to the 2012 suit, like the patches, elbow and knee pads.

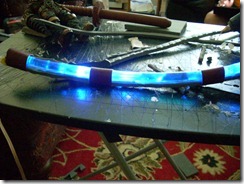
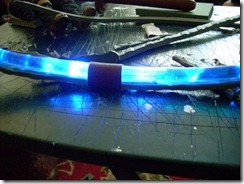
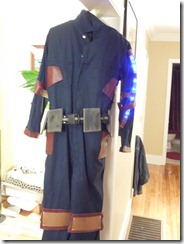
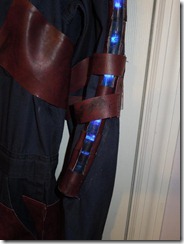
One piece I really wanted to upgrade was the Eve tube that runs down Delta’s left arm.  I had it last year, but you couldn’t see it.  Blue tube on blue suit.  It should have glowed, so let’s make the 2012 upgrade glow.

I basically made a foam pad for the tube to rest on, hollowed out the middle, and filled it with LEDs.
DSCN0829

DSCN0828

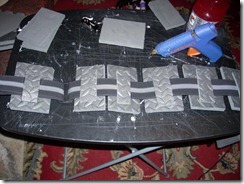
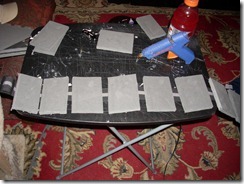
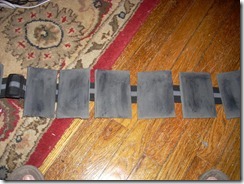
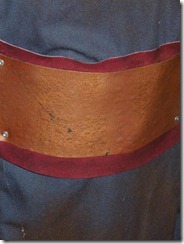
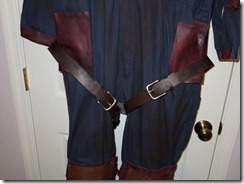
Now the belt was going to be easy.  Foam rectangles glued to a belt and weathered with shoe polish.

DSCN0824DSCN0825DSCN0826DSCN0834

There was one more piece to add.  Something to the inside shoulders of the suit:
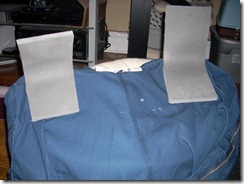
DSCN0835
These are two pieces of foam rounded over my shoulders.  I call it the “Notman Device” after my friend Megan Notman.  She was concerned about the weight of the helmet on my shoulders and recommended some sort of frame or padding.  This also helps raise my shoulders and takes some of the weight off my head.  Turns out using a hard hat for the base causes the weight to be transferred right to your head and neck.  Joy.

The final suit turned out really well.  Just needs some weathering.
DSCN0043DSCN0042

Weathering by coffee grounds and shoe polish.  It’s subtle, but just what I was after.

DSCN0069DSCN0070DSCN0071DSCN0072DSCN0073

DONE!

All I have to do now is pack it up, travel it to Dragon*Con, and have so much fun wearing it.  If you see me, come up and say “Hi”!

Saturday, July 28, 2012

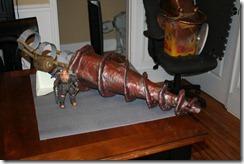
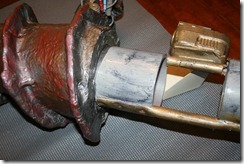
Subject Delta’s Drill Arm 2012 Edition


Last year’s drill was huge and heavy.  Wearing it actually did mess something up in my elbow and it hasn’t fully recovered.  So if I was going to do this again this year, I had to keep it light and build in better supports.

Keeping it light means using some materials that may not stand up to the drill motion.  That means it might not spin.  If it does, yeah!  If it doesn’t, yeah!  As long as it doesn’t cause me pain, I’m going to be happy.

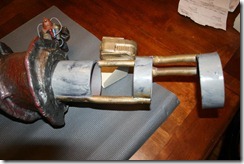
Like last year, the main structure is PVC pipe.  Unlike last year, it is lighter amounts of PVC and has some flexible supports.

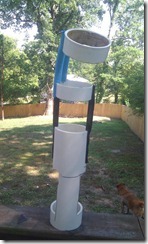
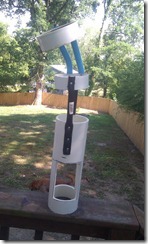
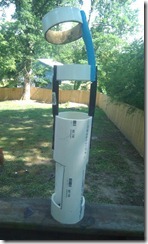
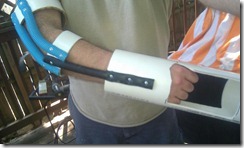
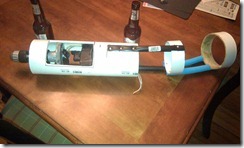
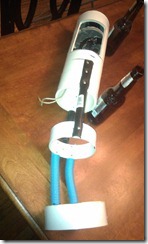
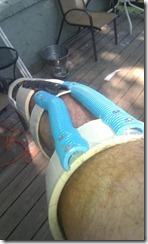
IMAG0702IMAG0703IMAG0704       IMAG0705IMAG0706IMAG0708

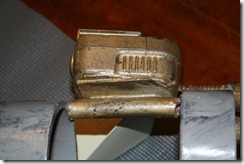
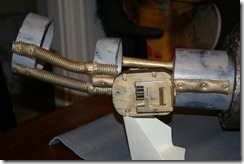
Everything is held in place with pop rivets.  The two cuffs actually help to distribute the weight to my whole arm and shoulder.  The blue pipe is actually a flexible PVC wire conduit.  It’s been used in a lot of builds this year.  Now on to the mechanics.  Time for another drill to die.

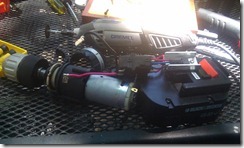
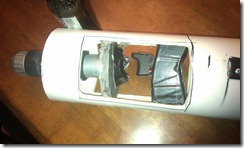
IMAG0698Pretty well gutted.

IMAG0700The new support system.

IMAG0710IMAG0711Not a lot of clearance for fingers here, but you can see the custom made pistol grip.  Much more comfortable than last years model.


           IMAG0712IMAG0713
                                          Beer.  So many uses.

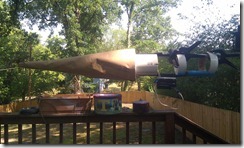
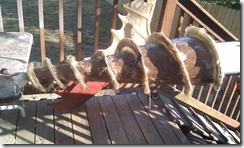
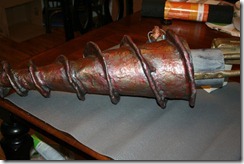
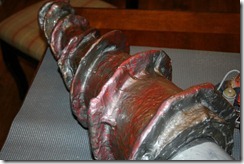
Now for the *%$&#(#$$! cone.

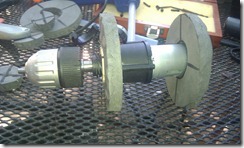
I struggled with this for a while, but managed to get it eventually.IMAG0723

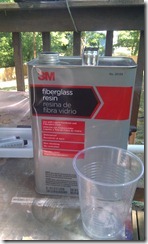
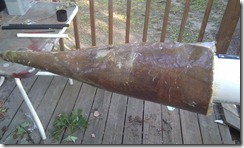
Now for resin and then fiberglass.
IMAG0724IMAG0725IMAG0726

Now, the blades.
IMAG0737

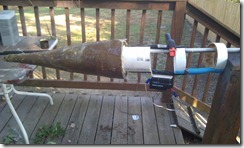
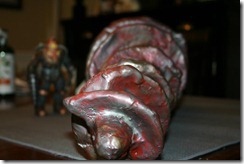
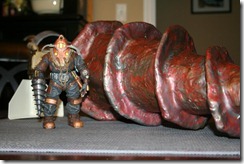
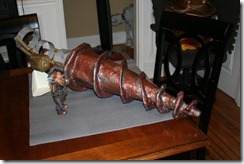
Lots of sanding, Bondo, sculpting putty, primer, and paint later and it’s done.

IMG_7238IMG_7239IMG_7240IMG_7241IMG_7242IMG_7243IMG_7244IMG_7245IMG_7246IMG_7247This is the battery pack for the drill.  The intention was to keep the whole thing self contained so I could take it off if I needed to without much help.

So, the big question, does it spin?  Sadly, no it does not.  Something broke lose on the drill shaft inside the cone and it does not spin.  Honestly, that doesn’t bother me at all.  I just wish I could get the drill motor out so I could lighten it up even more.  Plus with thing being made of fiberglass, if it did spin, it could actually hurt someone.  It still has enough oomph behind it to make a good melee weapon or a good “Either get on the escalator or get out of the way!” convention prod.